Hi this article shows how to remove and replace the dashboard or control panel on HP 6500, it’s for both C709 models, for the wireless model and the network model.
Replace Control Panel Screen on HP Officejet 6500
So basically what you do, is you remove the front faceplate by just either having a small screwdriver a very thin one or just propping it up with your nails, and it just comes off like this make sure you don’t break it and just go along.
As the comes off pretty easy is just on clips. So now you have an exposed original control panel, what you do now is you just remove screws there’s one screw here. another one over here on this end.
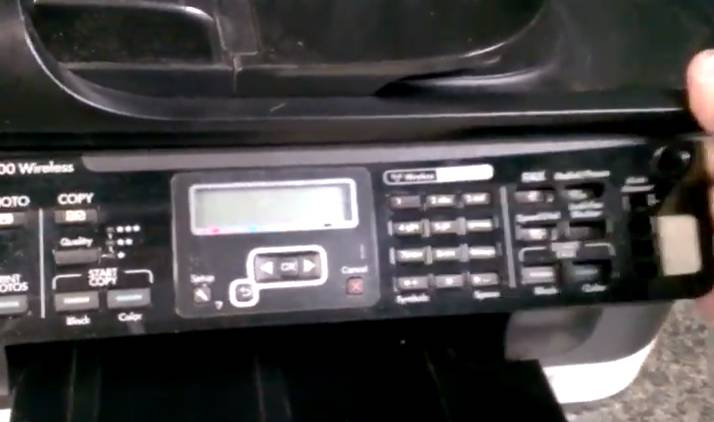
And I believe that’s it I think is just the two screws where we just go ahead and remove them. let’s open the cover just for classism to avoid damaging anything, and after that what you need to do is there’s three areas where it’s connected, wears like clipped in, so it’s right here, at the right side.
Need to prop it up a little bit the middle and the left side and that should bring it up pretty easily after that. so now you have this comes off easy no need to apply any force, carefully remove it though, and then on this side, on the backside.
Read More: How To Print Double Sided On Hp Printer
On the left side if you look at the printer there the cadet record here which you carefully need to remove, try not to damage it and one do the same thing when you put it back together. Now we have a screen removes from the printer.
Basically and follow the same steps put in the top first and then I’m going to flip it in on the bottom put in the two screws first of course you have to connect the wire and then put the to connect the wire and then put the faceplate over.