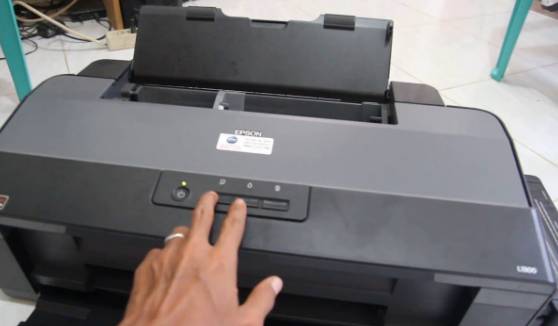
The Epson L1300 is the first four colors A3+ original ink tank printer, making it such a great option for personal, uses creative and business purposes.
It can print documents of varying sizes with excellent quality, from charts, business reports, floor plans to detailed CAD drawings. Of course, you need driver Epson L1300 to enjoy the printer capabilities to the fullest.
Here, we will give you the guides on how to download and install the driver for the printer. Don’t have the installation CD? No need to worry.
Our guides don’t require the installation CD at all. After all, you can always get the appropriate driver, including driver Epson L1300, from the official website.
Read Also: Driver Epson L3110 EcoTank
Before we start, please read the steps carefully. Why? Because both the download and installation processes must be done until they are finished so there won’t be any error on the driver Epson L1300. Alright, now let’s get to the guides.
Download Driver Epson L1300
 If you want to download the driver for Epson L1300 printer, do the following:
For Windows
- Drivers Printer Epson L1300 Windows XP, 7, 8, 8.1, 10 32 Bit Download (21.63 MB)
- Drivers Printer Epson L1300 Windows XP, 7, 8, 8.1, 10 64 Bit Download (25.34 MB)
For MacOS
- Drivers Printer Epson L1300 for Mac OS X Download (110.22 MB)
Or you will manually download from website, please do the steps below to download the driver:
- First, open your browser and go to the official website of Epson
- The website will ask you to choose the region you are in. Choose and proceed
- On the next page, click on the Support button on the upper right
- There are two alternatives here:
- The first one is to click the textbox and type the printer type and search its page. This will land you to a page where you can find the drivers as well as other supportive software and files
- The second one is to go down the page a bit and click the ‘Epson Download Center’. It should get you to another page where you can search the driver and download it
- Choose whichever option you want, be sure that the driver file is compatible with the PC’s Operating System. The page may or may not detect it for you, so just double-check it just to be safe
- Click the ‘Download’ button and let the download finish
How to Install Epson L1300 Printer Driver
Now, how to install the driver for Epson L1300 printer. The installation process is very easy. The driver file that you just downloaded is an executable file, which will open a wizard that will guide you through the installation process. Here’s how it goes:
Read Also: Driver Epson L210
Note: before the installation process is started, please make sure that the printer is not connected to the PC. The wizard will ask you to connect it later but until it asks you, don’t plug it in
- Find the printer driver file that you just downloaded and double-click it
- Next, you should see a wizard on your PC. Follow all of the wizard’s instructions and be sure that you finish every step to prevent any error
- During the installation process, the wizard will ask a few things such as whether you want to make the Epson L1300 as your default printer, allow automatic updates for the driver, the printer’s port, etc. Answer these as you see fit
- Let the installation process begins. The process usually will not take long
- After the installation is done, run a test print to ensure that everything works normally.