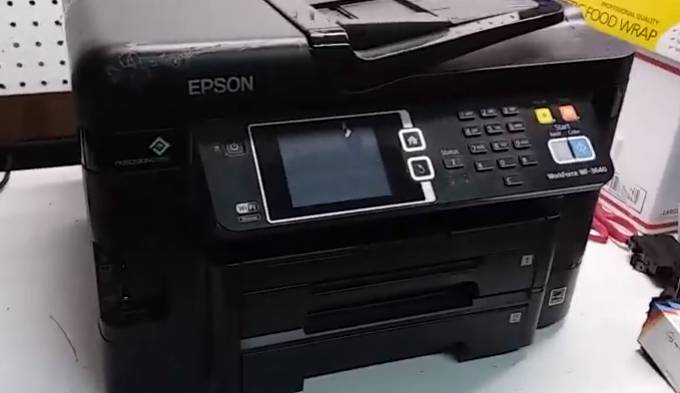
Hi everybody this is an Epson WF 3640 and i’m gonna show you how to replace a power supply adapter on this printer WF 3620 is exactly the same it just doesn’t have that extra tray number two on the bottom.
How To Replace Power Supply Adapter On Epson WF-3620
And it’s gonna be pretty much the same process, that we have 3500 series is gonna be very similar as well. they have a different power supply, but the process is pretty much the same.
So i’ve tried checking what was wrong with it i tried different, to make sure that the outlet is working fine that’s what you need to do first try plugging something into the wall outlet where the printer is connected to make sure that the wall outlet is working.
And if it’s not and you’ve tried different things then you still have an issue with the power on of the printer, then you’ll need to get a different power supply, and to replace it is very simple just a few screws.
Read Also: How to Replace Control Panel Screen on HP Officejet
The power supply is going to be located on the if we’re looking at the printer right now. Facing us is gonna be on the left side on the ADF side of the printer, in the back of it so we’re gonna turn the printer around.
To this side and there’s gonna be a couple screws, right here and the bag that we need to get rid of me to. There’s a Phillips screw right here, and over here, and we’re just going to screw and this panel here it just slides back and removes.
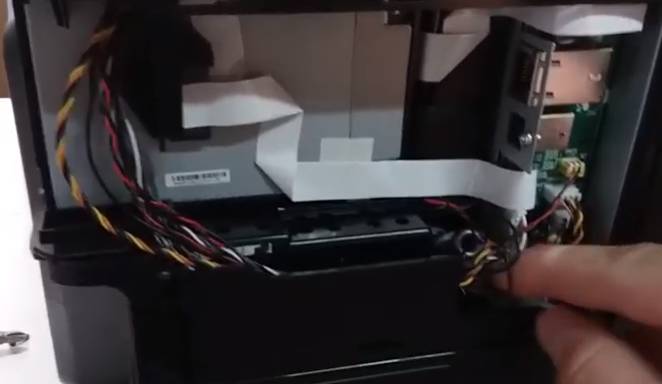
Then we’re gonna find the cord that goes through the power supply. This is the power supply right here the cord that goes to it is this gray one. thicker one, wider than other ones and we’re just gently gonna pull it out of the supply the formatter board or the logic board on this printer.
So it is now disconnected and we’re gonna find another screw, it’s located right here. On the side of the power supply, behind the panel that be removed. Remove the screw and then the power supply just slides out, very simple.
So to put it back to put in a different one the one that you’re replacing it with just the reverse process you put it back make sure you connect it to the correct one.
There’s gonna be that one right there, and then put the screw back in here, put the panel back put the screws back, on in the back of the printer and you’re all set hopefully it solves your printers set hopefully it solves your printers problem. Thank you for reading